
Generating New Schema Columns
The information on this page relates to the new upgraded interface of the IConduct platform. To view information about the Classic version of the user interface, follow this link.
In some cases, a user may find it necessary to define extra schema columns, in addition to the four default columns. When a user creates a new schema column, it is recommended to name it clearly. For example: Client_Email. When adding a new column to a specific schema the following page opens:
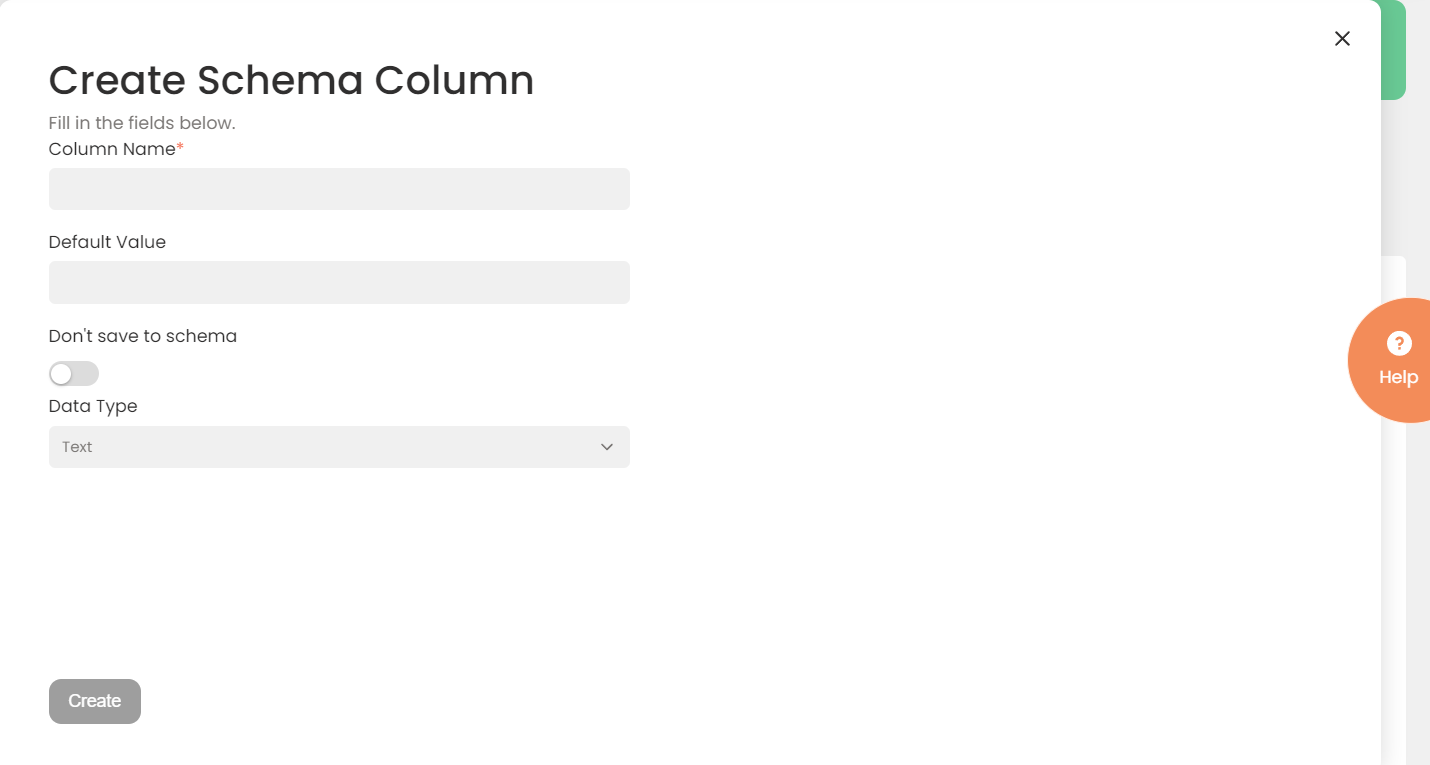
A New Schema Column Page
The fields listed in this page define the new schema column name and default value – if one is assigned (optional). The toolbar options are described in the chapter: Introducing the Home Page.
To Create a New Schema Column:
- Select Interfaces>{Specific Interface}>Tasks>{Specific Task}>Schema columns tab.
- Press the '+' (plus sign) button. The Create Schema Column page opens .
- In the Column Name box, enter a relevant name for the new schema column.
- In the Default Value box, enter default value for the new schema column. The value will be entered into all the lines in this column.
- Activate the Don't save to schema switch if you do not currently need to use the data from the column. The data will be stored there, however, will not be visible to the system during transactions.
- Select Data Type from the drop-down list.
- When done, press Create.
The new Schema column appears in the Navigation Pane and in the Schema Columns tab.